- Version
- Download 354
- File Size 8.8 MB
- File Count 1
- Create Date March 14, 2022
- Last Updated March 14, 2022
Zoo Management System in PHP with Source Code for free
A completely functional project built on the Zoo Management System and written in PHP. The PHP MySQL project below has all of the necessary elements for final-year IT students to employ in their college projects. It comes with a number of tools that let users manage zoo activities, tickets, and more. The concept of this website, as well as the web application, is quite obvious. It’s similar to real-life scenarios and has been well-implemented. Please scroll down to the bottom of this post for the Download button to get a free Zoo Management system project in PHP MySQL with source code files.
About Zoo Management System PHP Project
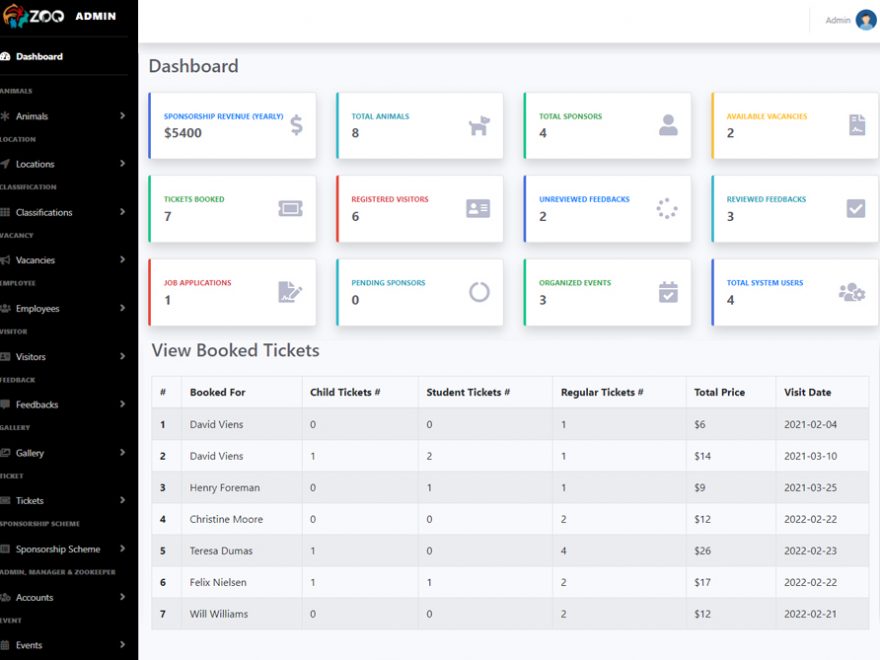
This Zoo Management System project in PHP MySQL is primarily concerned with keeping track of visitors, animals, and other information. To be more specific, the system assists in the categorization of visitors, sponsors, and animal records. In addition, the system displays all open positions. Additionally, the technology allows people to make reservations for tickets. This project, obviously, has a client-side with an admin panel, employee panel, sponsorship panel, and visitors panel. Visitors must register in order to use the services, according to an overview of this web application. Visitors who have registered can explore upcoming events, make bookings, and provide feedback. He/she can support animals and publish testimonials on sponsorship accounts. Each sponsor must first give precise details.
Administrator Panel, Manager and Zoo Keepers
The system is completely under the control of an administrator. He or she can oversee animals, system users, staff, classifications, and events, among other things. Each part contains its own set of details, such as a name, an image, and other pertinent information. An administrator must initially create classifications and locations in order to sustain subsequent processes. Second, the administrator can handle the animals and their information. When the administrator digs deeper into the animal section, he or she can archive/unarchive data and set the animal of the week. To be more specific, this area is critical for the client-side display of animal records. Similarly, the manager and zoo keeper accounts are the only ones who can use the above-mentioned capabilities.
Visitor Management, Vacancies and Applications
Users can register as zoo visitors, as previously noted. As a result, this component of the admin panel, in particular, allows the user to view registered visitors. The administrator can label visitors as archives from this page. When it comes to the vacancy section, users can post job openings. The user must submit information such as the job title, description, kind, contract start date, and contract end date. In fact, all of these openings are published on the client side, where anyone can apply by uploading their resume. In addition, the administrator can compile a list of all job applications and take appropriate action. The term “action” refers to the process of approving or rejecting employment applicants’ applications. The user can also download each applicant’s CV.
Available Features:
- Client-Side
- Admin Panel
- Employee Panel
- Ticket Reservations
- Visitors Registration
- Sponsor Registration
- Vacancy Announcements
- Apply for Jobs
- Image Gallery
- Animal Sections
- Event Management
- Feedback Management
- Sponsor Animals
- Set Locations, Classifications
- Visitor Management
- Employee Management
- Archive/Unarchive Records
- View Ticket Reservations
- Set Animal of the week
- Manage Animal Watchlist
- Approve/Reject Job Applications
- Sponsorship Scheme
- User Management
| Project Name: | Zoo Management System PHP |
| Language/s Used: | PHP |
| PHP version (Recommended): | 5.6, 7.4 |
| Database: | MySQL |
| Type: | Website, Web Application |
| Developer: | Sreejan Regmi |
| Updates: | 0 |
How to Run This Project:
Follow the steps below should be performed after you’ve started Apache and MySQL server in XAMPP.(windows)
- The first step is to extract the file.
- Secondly Make a copy of the main project folder.
- Thirdly Paste the code into xampp/htdocs/
Process to Connect Database with system.
- Fourthly Open a browser and type “http://localhost/phpmyadmin/” into the address bar.
- After that go to the databases tab.
- Sixthly Name your database “wmsci” and then go to the import tab.
- then Select the “wmsci.sql” file from the “DATABASE” folder by clicking on browse file.
- After that Press the enter key.
After you Successfully Connect Database in House Rental System Project.
- finally Go to “http://localhost/floder name/” in your browser.
LOGIN DETAILS ARE PROVIDED IN “Readme.txt” FILE INSIDE THE PROJECT FOLDER.
CLICK HERE FOR PROJECT REPORTS AND TUTORIALS
for Our YouTube Videos Click here. | To download more Project Click Here .For Latest Information| Our Twitter account | Our Facebook page.
